Pretty Embellished Easter Eggs!
April 12, 2017|Posted in: Crafter's Corner, Holidays and Seasons
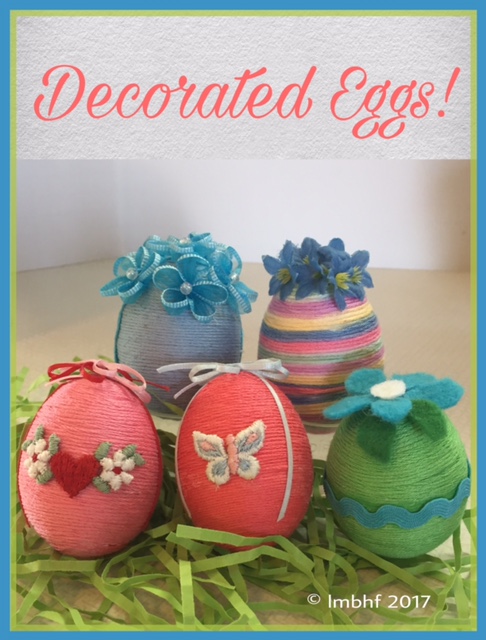
Eggs!
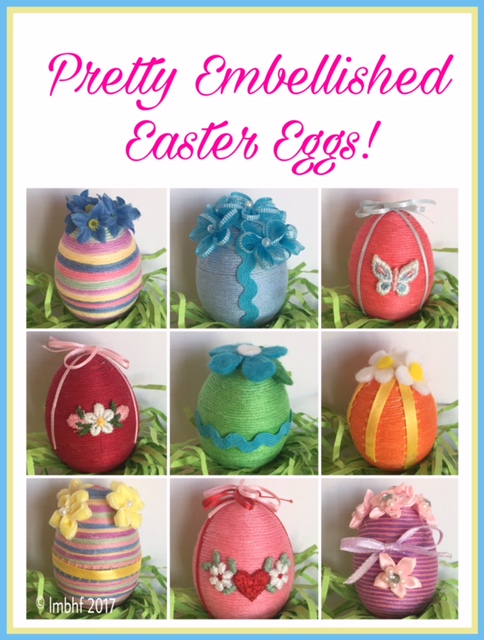
Pretty Embellished Easter Eggs
Are you looking for a beautiful easter craft you can make and display? Well, here it is!!
I first made these way back when I was a teenager or young adult. Some of the eggs pictured are the actual ones I made back then. I love making them because they are so fancy and delicate – Oh So Pretty! And they make a lovely holiday decoration or gift! The only tricky part is wrapping the egg. Other than that they’re really simple to make!
Here’s What You’ll Need:
- Choose Your Eggs – Plastic Easter Eggs, Actual Egg Shells with middles blown out, or Styrofoam Egg Shapes (My Personal Choice is Real Eggs)
- Embroidery Floss in your Colors of Choice
- White Craft Glue
- Hot Glue Gun
- Super Glue
- Embellishments such as:
Small Silk Flowers
Appliqués
Lace
Ribbon
Felt Pieces
Here’s What You’ll Need to Do:
1. Choose Type of Egg and Prepare Your Eggs

Real Egg, Plastic Egg & Styrofoam Egg
Real Eggs
- Make a very small hole in each end.
- Shake the egg vigorously to break the yolk.
- Hold the egg over a bowl and blow forcefully into one of the holes in the ends.
- When all of the contents of the egg have been blown out allow the egg shell to dry for a day or two.
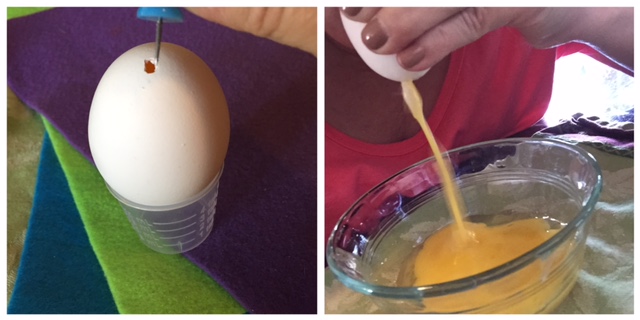
Blow Out the Contents of the Real Egg.
Plastic Easter Egg
- Glue the two halves together using a hot glue gun or a little super glue.
- Allow glue to dry.
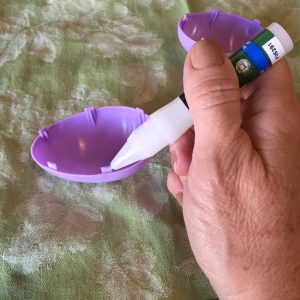
Glue the two halves of the plastic egg together.
Styrofoam Egg Shapes
- These eggs come ready to go!
2. Attach the end of the embroidery floss with a dot of white glue and allow to dry. (You may need to use super glue to attach the floss to plastic eggs)

Glue the floss to the very end of the egg.
3. Spread about ¼ inch of glue around the egg right next to where the embroidery floss is attached.
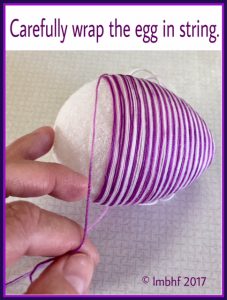
4. Carefully wrap the floss around the egg in spirals. This is tricky at first but it gets easier as you get closer to the center of the egg.
5. Make sure your circled strands of floss are buffed up right next to each other with no space or egg showing in between!
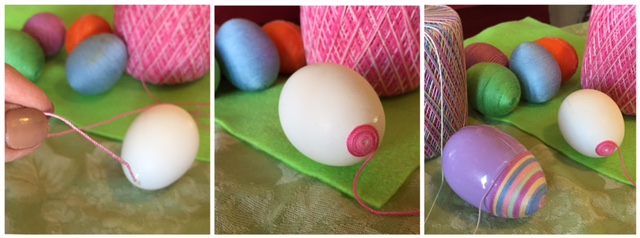
Wrap the floss around the eggs.
6. Continue wrapping the embroidery floss around the egg until it is completely covered.
Make sure there are no spaces or gaps between the threads.
7. Allow to dry.
8. Use a hot glue gun and attach the embellishments of your choice to make your eggs beautiful.
Pretty Eggs with Embellishments.
You might also enjoy: Hatching Chick Craft
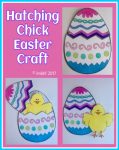
Hatching Chick Easter Cut Out Craft
Here are some related products from Amazon that you might like. Just click on the photo or the description to be redirected to Amazon where you can purchase the products.

Polish Easter Handpainted Wooden Eggs (Pisanki), Set of 6

Natural Speckled Foam Easter Eggs in Crate ~ Decorative Easter Eggs ~ 12 count

4 Decorative Figurines: Hen, Chicken and Rooster Wooden Figurines- Folk Art


8 Comments
Leave a Reply
*
Jackie
April 12, 2017
Hi your eggs are gorgeous. Take care. Hugs Jackie
LoriGraceH
April 24, 2017
Thanks Jackie!
Grammy Dee
April 13, 2017
Thanks for attending the #WednesdayAIMLinkParty, I shared your post.
Karren Haller
April 15, 2017
Such amazing Easter eggs, they are so beautfuly detalied.
Thank you for sharing at Oh M Heartsie GIrls Friday Features this week!
WIshing you Happy Easter!
LoriGraceH
April 24, 2017
Thank you so much Karren!
candy
April 15, 2017
these are really pretty. Thanks for linking up with #BloggingGrandmothersLinkParty.
Grammy Dee
April 15, 2017
Thank you Lori for linking up and co-hosting at the #BloggingGrandmothersLinkParty. I shared this post on Facebook, Google+, Pinterest, and Twitter.
Clearissa
April 18, 2017
Thank you for linking up at the #BloggingGrandmothersLinkParty. I have shared on social media.